Clean Opening
When opening game, there are various techniques that are often debated among experienced hunters. The method of ringing, where the so-called lock – the front bone of the pelvis – is not opened, but the rectum is carefully cut and removed through the hunting hole, stands out in particular. This process requires precise handling of the knife to detach the rectum in a ring shape from the pelvis without damaging neighboring organs such as the bladder.
Advantages and Possible Disadvantages of Ringing
The advantages of ringing are clear: this method offers significant hygienic safety by minimizing the risk of injuring internal organs that could contaminate the meat. Additionally, by not opening the lock, the hindquarters and partially the inner fillets are better preserved.
However, ringing also presents challenges. It is a time-consuming and technically demanding procedure that requires skill and patience, especially with smaller game. Opening the lock, on the other hand, can be done more quickly but carries a higher risk of contamination if the bladder or intestines are injured in the process.
Ringing - Instructions
Step 1 - The Right Equipment
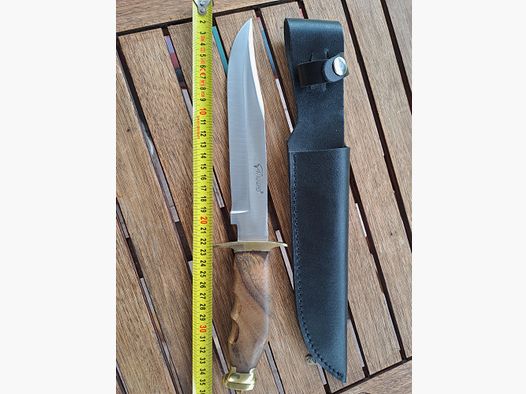
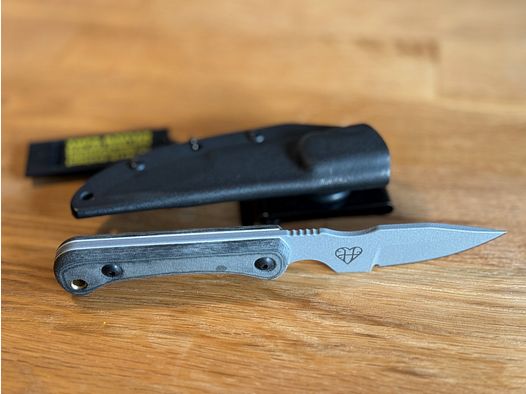
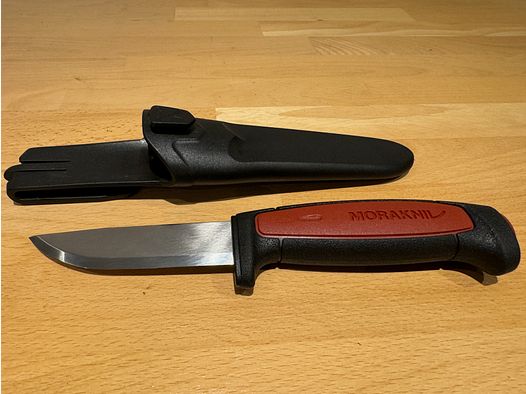
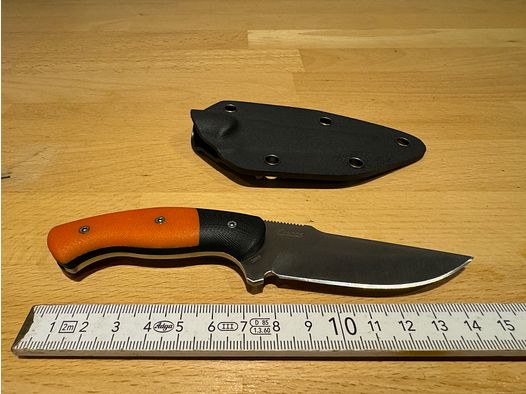
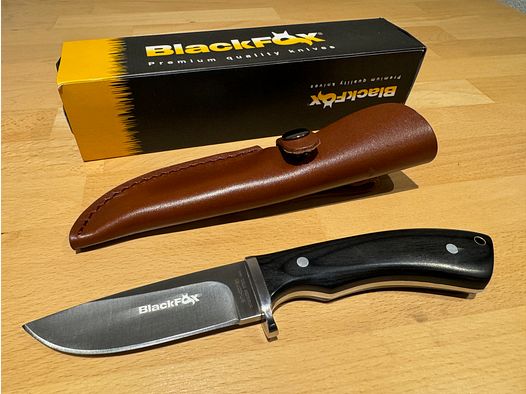
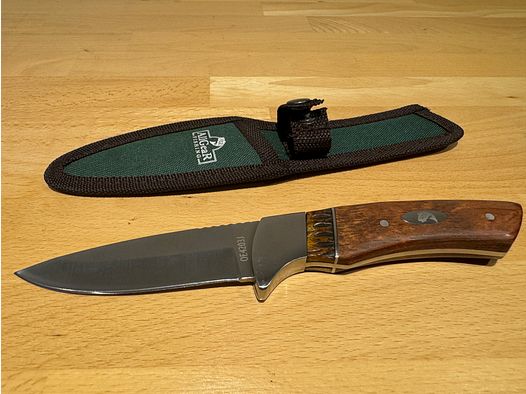
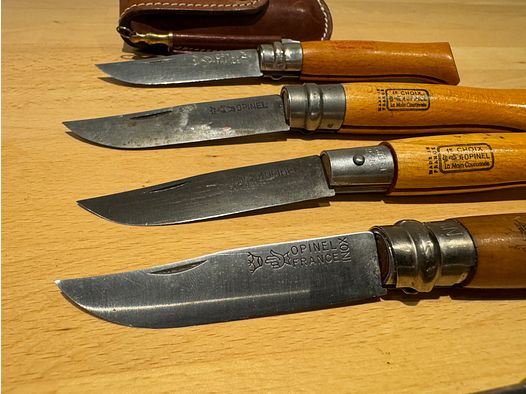
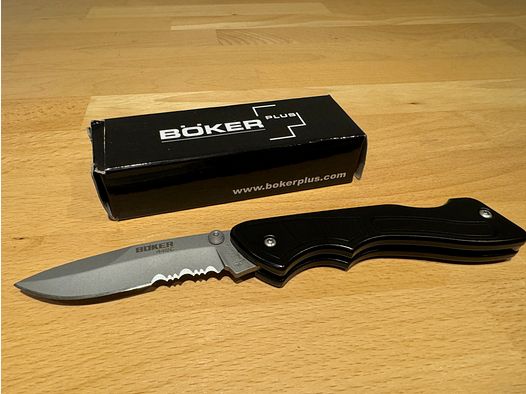
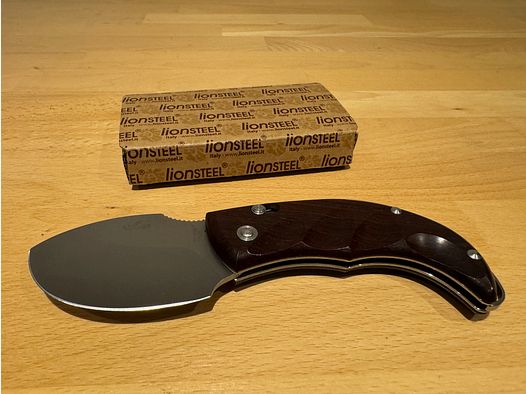
For ringing, a sharp hunting knife is generally all that is needed. Ideally, however, a hunter should carry three blades, either by bringing multiple knives or a folding knife with several deployable blades. These blades include:
- A sharp blade with a point
- Bone saw (needed for opening the lock, not for ringing)
- Opening blade with a rounded tip

Step 2 - Hang the Game
The game must be hung by the hind legs after the shot. It is not only easier to work on a hanging piece than on a lying one, but another advantage is that the organs of the game slide down into the chest area, preventing them from being cut during the opening process.
Step 3 - Cross Section
Now, step behind the hanging piece so that you are on the back side. Grab the root of the tail, and make a cross-section between this and the hunting hole.

Through this opening, you can reach around the intestines and "free-cut" them.
Step 4 - Trim the Short Game Meat
Now, the short game meat is trimmed so that the hindquarters are not exposed.

Step 5 - Open the Abdominal Wall
In the next step, a small opening is made with the tip of the blade, and then the opening blade, which has a rounded tip, is used to continue. The use of the opening blade prevents damage to the game’s entrails. Depending on the requirements of the game keeper, the breastbone is either opened or left intact.
Step 6 - Trim the Throat Button and Remove the Entrails
After the throat button has been trimmed, the entrails will already fall out of the game body. Even if one of the organs were to be injured now, no fluids could escape into the game body and contaminate it. Finally, the diaphragm must be trimmed, the opening examined, and the piece can be hung in the cooling. Done.

