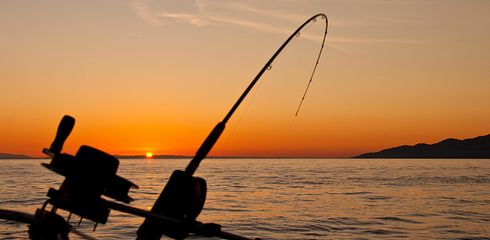
Fishing is not just about casting the rod and waiting for a bite; it also requires the right connection between you and the fish. Choosing the right fishing knot is crucial to ensure that your gear remains intact and you can land your catch safely. For beginners, the variety of knots may seem overwhelming, but with a little practice and the right knowledge, you can quickly learn to master the knots. In this article, you will learn everything about the basics of fishing knots that are essential for beginners.
1. The Simple Knot: A Knot for All Occasions
The Simple Knot, also known as the Overhand Knot, is the simplest and most commonly used fishing knot. It is well-suited for connecting hooks, swivels, and lures to the fishing line. Here’s how to tie the Simple Knot:
- Step 1: Wrap the end of the fishing line around the object (hook, swivel, etc.).
- Step 2: Wrap the end of the line around itself and the other end.
- Step 3: Pull the loop through the resulting eye.
- Step 4: Slowly pull the knot tight, ensuring that the wraps distribute evenly.
2. The Double Palomar Knot: Extra Security for Heavy Loads
If you are fishing with heavy gear or strong currents, the Double Palomar Knot offers extra security. It is often used to attach the lure to the line. Here’s how to tie it:
- Step 1: Fold the end of the fishing line in half to create a loop.
- Step 2: Pass the double loop through the eye of the hook or swivel.
- Step 3: Wrap the double end around the main line.
- Step 4: Pass the double end back through the loop.
- Step 5: Gently pull the knot tight, ensuring that the wraps are even and firm.
3. The Blood Knot: Strong Connection for Thin Line
Especially with thin lines, the Blood Knot is an excellent choice. It is often used to connect two lines together, making it ideal for tying leaders. Here’s how to do it:
- Step 1: Cross the two ends of the lines.
- Step 2: Wrap one end around the other line and pass it back through the resulting loop.
- Step 3: Repeat this process with the other end, keeping the wraps close together.
- Step 4: Moisten the knot slightly and gently pull both ends to close the knot.
4. The Improved Clinch Knot: Perfect for Hooks and Lures
The Improved Clinch Knot is ideal when you need a strong knot for hooks or lures. Here’s how to tie it:
- Step 1: Pass the end of the line through the eye of the hook or swivel.
- Step 2: Wrap the end around the main line.
- Step 3: Pass the end through the resulting loop.
- Step 4: Wrap the end around the main line three to five times.
- Step 5: Pass the end back through the loop.
- Step 6: Gently pull the knot tight, ensuring that the wraps are even.
5. The Rapala Knot: Perfect for Thin Lures
The Rapala Knot is particularly well-suited for thin lures, allowing them to move freely. Here’s how to tie it:
- Step 1: Pass the end of the line through the eye of the lure.
- Step 2: Wrap the end around the main line.
- Step 3: Pass the end through the resulting loop.
- Step 4: Wrap the end around the main line again, this time five to seven times.
- Step 5: Pass the end back through the loop.
- Step 6: Gently pull the knot tight, ensuring that the wraps are even.
Conclusion: Knots are the Key to Success
Choosing the right fishing knot is crucial to ensure that the fish doesn't get away. Practice the various knots at home before venturing out to the water, and make sure to tie them securely and firmly. A well-tied knot is the key to a successful fishing trip and the assurance that your catch will safely come to shore. Have fun practicing and tight lines!


