In order to make a precise chamber shot, our weapons must always be reliably zeroed. This is initially the case after mounting the scope, but also when the scope has been knocked or the ammunition has been changed, it must be zeroed again - a process that every hunter should master. Here's how it goes:
1. Check the rifle
Is the sight clean? Does the barrel swing freely? Is the barrel free of oil and cleaned? Are all parts free of rust and surface damage? These basic requirements should be checked before zeroing, just like before every use of the weapon.
2. Preparing the shot
The rifle is zeroed while sitting on a table. Ideally, the rifle should be clamped into a shooting rest so that it cannot be moved when the trigger is pulled. If no shooting rest is available, it is also possible to create a stable base with filled sandbags; in a pinch, a backpack will do. It is essential to ensure: The barrel must be able to swing freely! The shooter must be able to shoot calmly and securely in a comfortable position. Both elbows of the shooter should rest firmly on the table surface during the shot, and the buttstock should be firmly pulled into the shoulder.
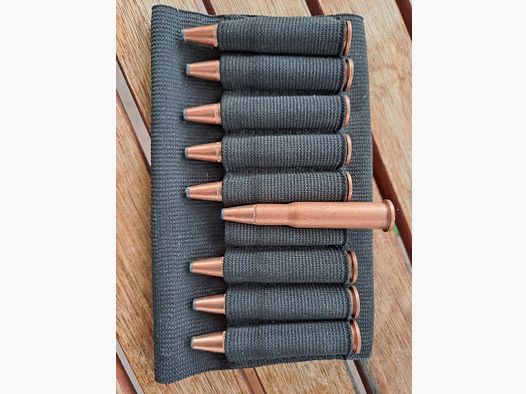
Important equipment: personal zeroing targets, sufficient hunting ammunition, and hearing protection. Shooting ranges are usually very confined, and the sound of the bullet is reflected off all walls, making it significantly louder than outdoors. While many hunting companions still forgo wearing hearing protection while hunting, it is a sure guarantee for lasting hearing damage in the shooting range. Even when using a silencer, wearing hearing protection in the range is mandatory.
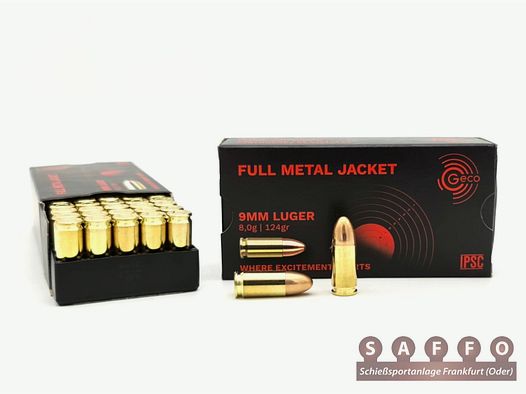
In our opinion, it is also a good idea to take a few test shots before the final fine-tuning - even with inexpensive full metal jacket ammunition. Even with an average caliber or if the shooter hasn't shot in a while, there is a risk that they will "flinch," meaning they jerk in anticipation of the recoil and the sound of the bullet - thus misaligning the weapon. Therefore, we recommend a few shots to warm up - where expensive hunting ammunition is not necessarily required, but full metal jacket ammunition can also be used. Before the actual zeroing, the barrel should be cleaned again.
3. Zeroing
The weapon is zeroed at 100 m. The goal is for the ammunition to hit exactly 4 cm above the point of aim. The most favorable zeroing distance, that is, the distance at which, loosely speaking, the bullet would hit exactly where the red dot or crosshair is located, can be read on the cartridge box.
When shooting, briefly hold your breath relaxed, and slowly and evenly pull the index finger back on the trigger until the shot breaks.
4. Adjusting the scope
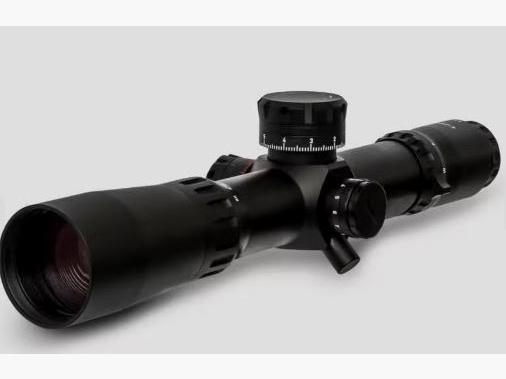
If the projectile does not hit exactly 4 cm above the point of aim, adjustments must be made. Most scopes have adjustment knobs located on the top and side (usually under a cover cap) that can be turned for alignment. They make a clicking sound - usually, each click at 100 m corresponds to one centimeter on the target. For example, if the shot hit four cm too high, the elevation adjustment knob must be turned four clicks down. The direction may vary from manufacturer to manufacturer - just try it out!
The spread of the shots should not exceed 5 cm; in hunting operations without a shooting rest and in hunting fever, the shots are much less accurate than on the shooting range!
If no tolerable spread is achieved after several shot groups, there may be various reasons, such as the ammunition not matching the barrel. In that case, consulting a professional is advisable.
5. Hunting
With a perfectly zeroed weapon, hunting can finally begin. It is important that you can always rely on your weapon and exclude it as a source of error. Happy hunting!
Zeroing in the hunting area:
The best reports on hunting shooting and the best equipment can be found with our premium partner Geartester. Additionally, Geartester provides high-quality video content on the topic on YouTube:
