The Hunting Shotgun Shot
Many hunters have only shot during the hunting exam and thus have not systematically learned the actual shotgun shooting and rarely or never practiced at the clay pigeon range.
It is worth engaging intensively with shotgun shooting, even if the driven hunt invitations are no longer flooding in as they used to. Pigeons, ducks, geese, and crows are still present in many areas and offer exciting hunting opportunities.
Those who master and understand shotgun shooting will always be good shots during moving hunts, as the body movement is largely identical. The following short guide cannot teach you shotgun shooting in its entirety. It is meant to encourage you to engage with the essence of shotgun shooting and to learn and practice it best under the guidance of a shooting instructor (e.g., DSB trainer or CPSA coach).
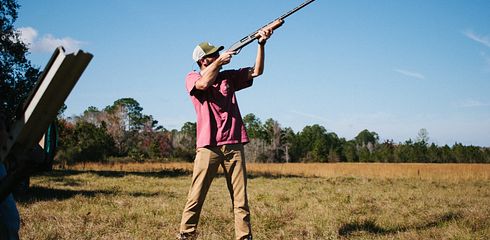
In shotgun shooting, we use the whole body to execute the movement towards the target. The necessary movements are composed of several elements that must be executed simultaneously to be successful.
For beginners, the body posture and movement with and without a weapon are unfamiliar and must therefore be learned step by step. It is important to ensure that the difficulty level is gradually increased and one movement element is corrected after another. New and more difficult targets should only be shot at when easy ones are regularly hit. The Marksman shooting simulator and the hunting course are particularly suitable for this, alternatively the skeet range.
To successfully shoot a target with the shotgun, certain things must be considered:
Important Aspects of Shotgun Shooting:
1. Pointing
Shotgun shooting is a form of pointing shooting. The human eye can only see one point sharply at a time. You can either see the muzzle or the target sharply, but never both at the same time. While aiming with a rifle we focus on the front sight and then lead the muzzle and eye to the target, in shotgun shooting we focus on the target and perceive the front sight as out of focus in the background.
If you see the target sharply and can estimate its direction and speed, the muzzle is moved towards the target, or in the case of targets flying at an angle, in front of it, so that the target and shot cloud can collide. There are various techniques for this that we will consider. The shooter must constantly focus on the target while still perceiving the front sight as out of focus in the background. This is a skill that must be learned. Under no circumstances should one look at the muzzle, as this would lead to stopping the muzzle and a miss behind the target.
2. Foot Position
The shooter must position themselves so that they can comfortably reach the point where they want to shoot the pigeon. For cross-flying targets, this is not directly at the trap machine from which the pigeon comes. The right-handed shooter stands with their left foot pointing at 12:30, and their right foot pointing at 2 o'clock, with the heels about 10cm apart. The foot position should neither be too wide nor too narrow. A too wide foot position is stable but not mobile, while a too narrow foot position is mobile but not stable.
3. Upper Body Position
The upper body is slightly leaned forward to compensate for the recoil by bending over the hips. At the same time, a correct forward lean of the upper body (OKV) ensures the correct rotational movement towards the target. A too little OKV means that only the arms are moved in the rotation, while a too strong OKV leads to the knees being locked and only the upper body moving with the muzzle, not the hips. Additionally, the shotgun cannot be correctly mounted but is placed too low on the shoulder.
4. Mounting
The stock is firmly placed in the shoulder pocket at the back, as close to the body as possible. To determine the exact position of the shoulder pocket, the right hand is placed on the left shoulder, and the left hand is brought to the right shoulder, as one would do with the shotgun stock. The cheek is placed on the stock so that the cheekbone rests firmly on the stock's back and the cheek flesh forms a cushion between the stock and the cheekbone.
5. Sight
To hit a stationary target, the right eye, front sight, and target must form a line for a right-handed shooter. This essentially also applies to moving targets, but depending on the direction and speed of movement, one must shoot more or less in front of the target. It is desirable to shoot with both eyes open, as this allows for proper spatial vision and utilizes the entire field of view, enabling better estimation of the target's direction and speed. However, if the left eye focuses on the target faster than the right, the line of right eye-front sight-target is disrupted, and the shot will go left. In this case, the left eye must be blocked in the shooting position (head lowered) with an adhesive patch. Ideally, this is an occlusion patch from an optician.
6. Hunting Expectation
In hunting, the weapon is usually not in the shoulder when the target appears. Additionally, an unmounted weapon allows for better focusing on the target, which is the essence of shotgun shooting. The hunting mount combines the mounting movement and the pointing movement towards the target into one motion. The butt plate is placed under the armpit, and the muzzle is held horizontally. The weapon is lifted in the mounting movement, cheek contact is established, and the weapon is placed in the shoulder pocket. Simultaneously with the mounting movement, the left hand leads the muzzle towards the target. Shooting from the hunting mount means an additional movement and thus an additional source of error. This means that shooters must first be able to shoot securely from the shoulder before learning the hunting mount.
7. Stock
Especially when shooting from the hunting expectation, the shotgun must be fitted so that it can be correctly mounted without having to look at the rib again and correct the mount.
a. Stock Length: The stock must be long enough to be comfortably mounted. For men around 180cm, about 37.5cm, for women around 165cm, about 35.5cm (only approximate values).
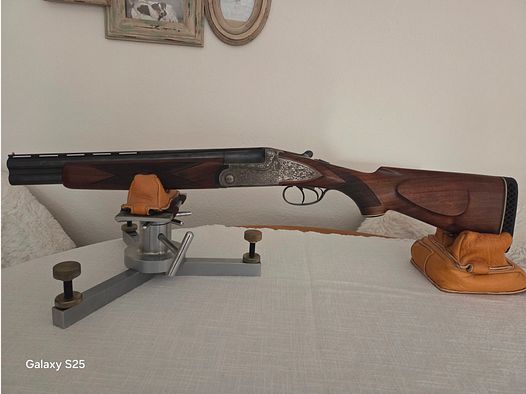
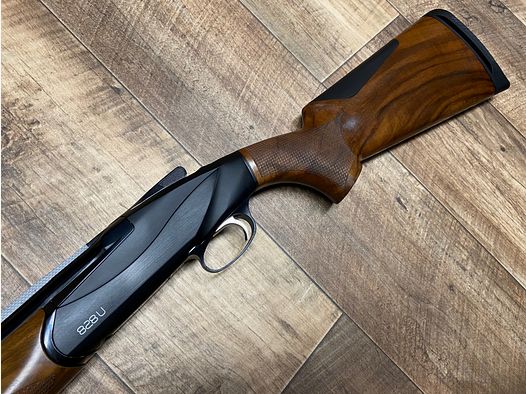
b. The drop is the deviation of the stock from the extended barrel axis downwards, measured at the stock nose (drop at nose) and at the stock heel (top edge of the butt plate, drop at heel). It should bridge the difference between the cheekbone and the eye. This ensures that the shooter can see correctly (flat) over the rib. Women require less drop compared to the standard stock due to the smaller distance between cheek and eye. More and more manufacturers are now producing special women's stocks that take this into account. Shotguns with adjustable stock backs are advantageous, as the drop can be adjusted to the shooter.
c. The cast is the bend of the stock towards the shooter's shoulder and is measured at the stock heel (cast at heel) and at the bottom edge of the butt plate at the stock toe (cast at toe). The cast at the toe is greater than at the heel. Therefore, a right-handed stock cannot be converted to a left-handed stock. Necessary stock adjustments can usually be made provisionally at the range, so the standard stock can be adjusted to the shooter's requirements. Permanent changes can be made by a gunsmith if he has the stock measurements. In special cases, it may be necessary to have a custom stock made.
Important Points
Now it is important to plan the shot and clarify some important points:
1. How does the target fly? Where does it come from and where is it going?
2. Eye alignment (target acquisition point): The clay pigeon leaves the machine and is initially perceived as an orange shadow. After a few meters, it is then recognizable as a clay pigeon. We align our eye on this point.
3. Muzzle alignment (gun hold point): We need a moment to react to the flying and visually perceived clay pigeon. During this time, the clay pigeon continues to fly. Therefore, we hold the muzzle slightly ahead in the flight direction to compensate for our reaction time and the target's path during this time.
4. Where should the target be shot (shot sector): First, one must clarify at which point one wants to shoot the target (at the latest). This point can deviate significantly from the target's appearance point. It is crucial that the body is relaxed in the shot sector. The shooter must position themselves so that they can comfortably reach the point where they want to shoot the pigeon and not align themselves directly towards the trap machine from which the pigeon comes.
The weapon is first mounted on the shot sector and then the body is turned towards the gun hold point. The weight distribution of the body must not change, as otherwise a synchronous movement towards the target after calling the target is not possible. It is important that the hips, upper body, arms, and head form a unit and move together. The lateral movement of the body is enabled by the legs, which are relaxed but not bent in the shooting position, and certainly not locked.
It is advisable to first shoot at incoming targets. Directly incoming targets are shot at by looking directly at the target and shooting as soon as the muzzle is also on the target.
Shotgun Shooting Techniques
For targets coming in at an angle, one must shoot more or less in front of the target depending on the direction and speed of the target. There are various techniques to achieve the necessary lead:
1. CPSA Method (Lead Technique)
The muzzle is mounted on the target, followed along with the target, and thus the direction and speed of the target are taken in. The muzzle is then accelerated in front of the target, and the shot is fired. The eye always focuses on the target, never on the muzzle. This technique is particularly easy to learn and therefore especially recommended for beginners. The only variable in this technique is the measure of how far the muzzle is accelerated in front of the target.
2. Maintained Lead (Pre-Start Technique)
The shooter knows how far they need to shoot in front of the target and does not aim at the target but in front of it, maintaining this lead until the shot. Since the follow-through on the target is omitted, this method is particularly suitable for fast targets, such as in skeet shooting.
3. Swing Through (Overtake Technique)
The mount is completed behind the target, and the muzzle is accelerated to or in front of the target. The muzzle moves faster than the target, so the shooter has the impression of swinging through less than with the two previously mentioned shooting techniques.
About the Author:
Jochen Niesner is the owner of the Hunting School Rhein-Main, a trained shotgun shooting instructor (CPSA Senior Coach), and regularly conducts courses in shotgun shooting at the shooting range and in his own MARKSMAN shooting cinema.
